When building the original Brew It Right™ brewery, the only viable vent option was out the glass-block window behind the brew bench. Time for Q&A:
How you do you vent out a glass block window?
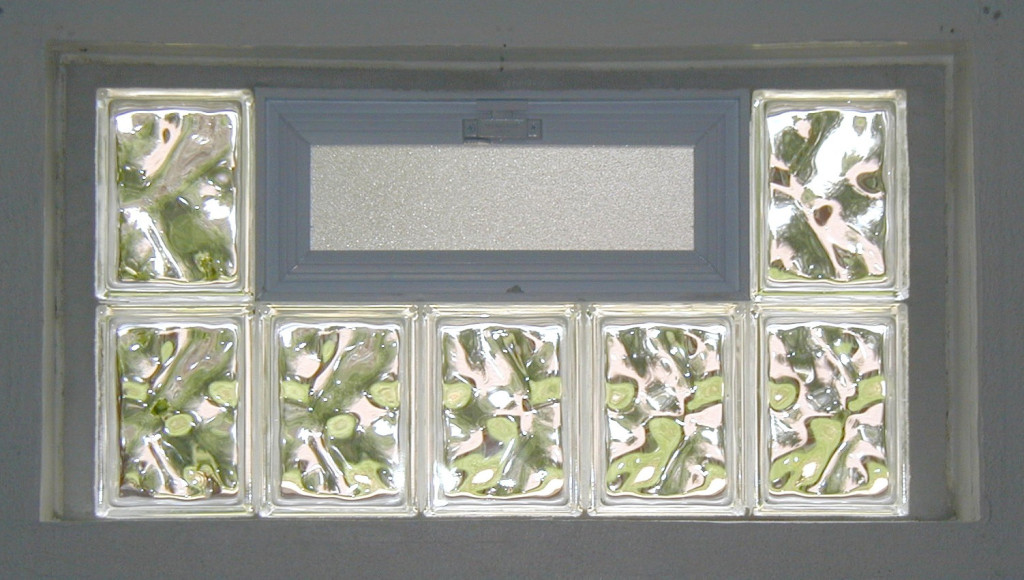
You start with a window that looks like this. Notice how the blocks beside the pull-down vent are not square; this prevents using 6″ PVC drain pipe because the blocks are less than 6″ wide. So you have to use 4″ PVC drain pipe instead, which means you buy a 105mm diamond grit hole saw to cut through the blocks. Yes, there was a $25-off coupon the day I bought it. Yes, it was still stupidly expensive. But here at Brew It Right™ we also Do It Right.
Hot tip: buy the Bosch mandrel so you don’t walk all over the glass when you’re starting your cut, otherwise you’ll end up with some modern glass block art that looks nothing like a 4″ hole.
Aren’t there two sides to each glass block?
You’re entirely correct! It’s like cutting tile, only it’s thicker and takes 5 times longer to cut! Each side is about a half-inch thick, and it takes a really, really long time to drill through. Worse yet, you have to make sure that the outside hole is slightly lower than the inside one, so that any condensation that makes it through the fan trickles down to the vent, not back into the fan.
Hot tip #2: spray the cut with water periodically to reduce heat and friction.
Wait, isn’t 105mm smaller than the outer diameter of 4″ PVC drain pipe?
Correct again! Unfortunately, diamond grit hole saws larger than 105mm are insanely expensive. We don’t do it that right here at Brew It Right™ ’cause damn, we’re not rich. So instead, cut a 105mm hole and then use a $5 grinding bit on the end of a drill until the 4″ drain pipe fits. Then silicone seal to weatherize and fill in the gaps.
Two fans are better than one
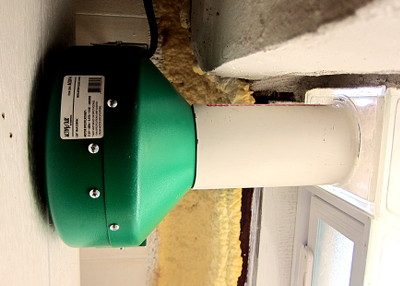
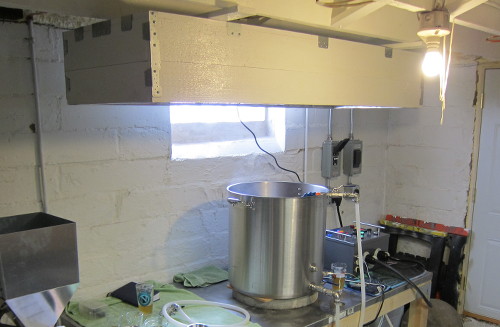 The original plan called for a single ActiveAir ACDF6 in-line fan hooked up to a 6″->4″ PVC reducer, then vented out the glass block window. Unfortunately, the 6″ fan doesn’t pull out enough steam to handle a full boil. Brew It Right™ has no idea why this is the case; perhaps it has something to do with back-pressure created by the reducer which kills the CFMs. The vent itself closely follows Kal’s dimensions for his custom condensate hood, including the size (about 11″ tall) and height above the boil kettle (16″), so it seems like the fan and reducer are the problem.
Clearly a second fan is in order; Brew It Right™ purchased a 4″ in-line ActiveAir fan and installed on the opposite side of the glass block window. Obviously this entailed using the diamond grit hole saw a second time, which nobody here was particularly enthusiastic about due to the time required and bodily contortions involved.
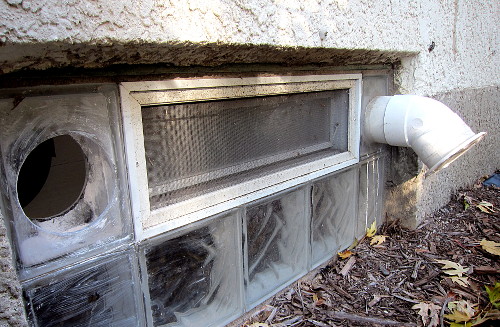
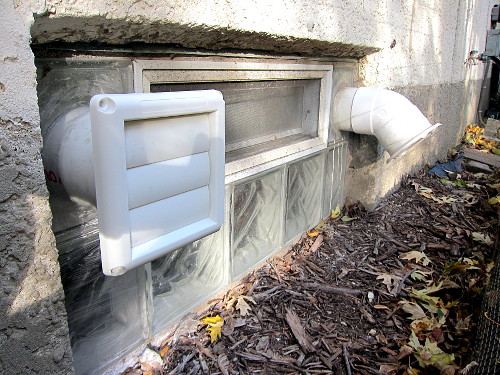
Keen observers will note that a different exterior vent is used on the new fan. The original cover was a spring-loaded flush exterior vent, but it turns out the spring isn’t very strong and you have to go outside to make sure it closes every time you use it. It’s cold here in the winter, so that’s not very fun. Thus the standard dryer vent cover on the new vent, a product of trying and half-failing the first time around.
Inside, the new fan was mounted to a bady-cut cut hole in the vent using a Dremel 4000 with a router bit, since there wasn’t enough space for the jigsaw used for the original 6″ fan hole. Then, 4″ PVC drain pipe was slid through the hole and over the fan outlet, and a standard clothes dryer vent attached to the end of the drain pipe with silicone.
The fan was then secured to the ceiling using thick metal bars to ensure it didn’t vibrate itself out of place. While we haven’t brewed with it yet, we’re confident it will provide the CFM boost required to pull out the extra moisture that the 6″ fan cannot. Updates to come on how it works out…
