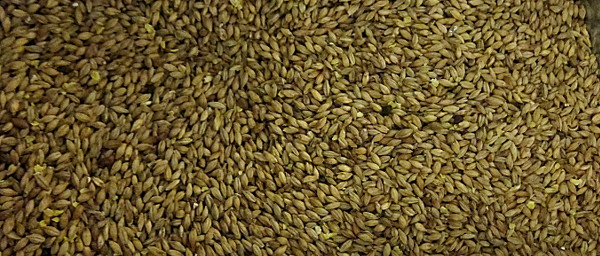
It’s getting down to the wire to brew Winter beers that need anything more than a week or two of aging. What to brew? Jubelale! Brew It Right™ hasn’t brewed often with dark crystal, so the use of Crystal 80 and Crystal 160 in this recipe intrigues us. But first, a diversion…
Amps are Everything
And here we ain’t got that many. The house service is 100 amps and the main electrical panel is almost that many years old. Just kidding. But it’s so bad that you can’t run any 30+ amp continuous load (brewing, clothes dryer, air conditioner) without the main 100A breaker getting really hot and eventually tripping, causing a major brewing bummer. So we use this:
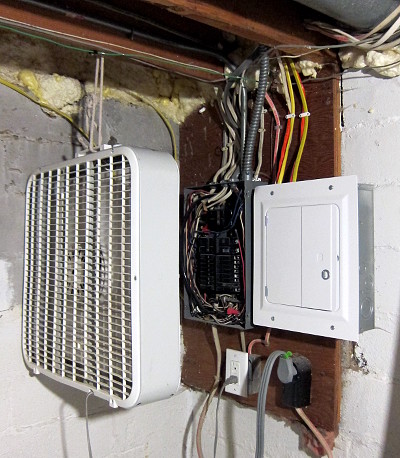
Replacement breakers on eBay are obviously used and quite possibly just as bad as the one existing one. Once the HLT or boil kettle is at temperature everything is fine, but it’s the 40 minute continuous load ramp-up that makes the panel contemplate self-immolation. We’re going to upgrade to 200A service this winter, but we’ll have to reach deep into some paychecks for it.
The Recipe
Expected OG: 1.069
Expected FG: 1.016
Mash: 60m @ 152F at 1.3 qt/lb

10.65 lbs Rahr Pale 2-Row
1.42 lbs UK Extra Dark Crystal 160L
1.00 lb Thomas Fawcett Amber
0.71 lbs Briess Caramel 80L
0.16 lbs Briess Carapils
0.08 oz Roasted Barley 300L

0.6 oz Galena 13.9% AA @ 60m
0.5 oz Cascade 6.8% AA @ 60m
0.5 oz Willamette 5.3% AA @ 60m
1.0 oz UK Fuggles 5.7% AA @ 30m
0.7 oz UK Goldings 5.0% AA @ 0m
1.0 oz UK Goldings 5.0% AA dry hop
0.5 oz Cascade 6.8% AA dry hop
Whirlfloc @ 10m

White Labs WLP007 Dry English Ale
The Thomas Fawcett Amber was lying around, and we really had to use it up. We also substituted Fuggles for Tettnanger because we had them lying around, and we really had to use them up.
The Brew
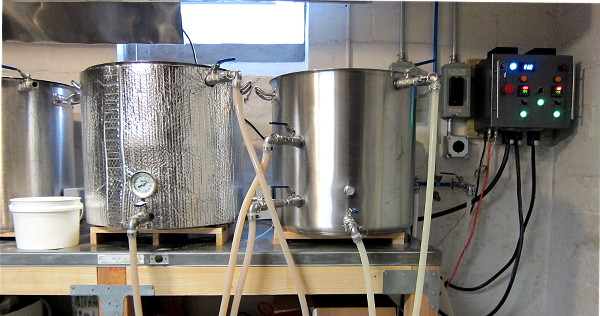
 Dough-in landed the mash at 150F instead of the 152F we were hoping for. Since there are a couple variables involved in maintaining mash temperatures (thermal mass of the water and grain, pump speed, ambient temperature, etc), each brew works out a bit differently until you get to know your system well. How long that takes depends on how often you brew.
 The Brew It Right system has two active temperature probes during the mash: one in the HLT and a second on the HERMS coil exit. The center of the mash usually reads about 2 degrees cooler than the HERMS coil exit, which usually reads about 2 degrees lower than the HLT. Yes, you can speed up your pumps to bring the mash closer to HLT temperature, but that also means the wort doesn’t spend as much time in the HERMS coil and doesn’t pick up as much heat from the HLT. So you need to reach a happy equilibrium, figure out a standard pump speed and HLT/MLT temperature differentials, write them down, and keep using them.

After adjusting temperatures and reaching the right mash temperature of 152F, sparge first runnings were about 14 Plato (1.056) and didn’t drop, resulting in 7.3 gallons at 14 Plato. Since the last runnings were obviously nowhere near 1.010 (which starts extracting tannins from the grain husks) why waste a ton of great wort? Partigyle it! After filling the boil kettle, the left-over Jubelale mash got topped off with two pounds of Maris Otter and a half pound of wheat malt, was left to sit for about an hour around 148F, and then drained off into a bucket for the second beer.
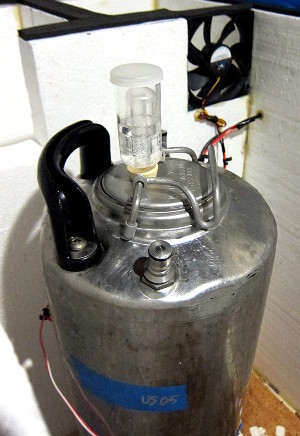
It was boiled. Hops were added. Whirlfloc not forgotten. Chilled and kegged to 75F, yeast dumped, dropped into the fermentation chamber. The final gravity was 1.068, just shy of where it should be. Adding a bit more wort and boiling longer before starting the hop clock would have bumped the gravity up to the recipe’s 1.069, but that takes time and there wasn’t enough of it with another brew on deck. All in all, a pretty successful night.
Bonus Bitter
It’s a crime to waste good wort. We had 7 gallons of 1.027 wort just sitting in a bucket from the Jubelale mash and extra grain. Time to brew number two… Since it’s also a crime to waste good hops, the left-over Jubelale hops formed the backbone of this beer: 0.4 oz Galena at 60 minutes followed by 0.5 oz Willamette at 15 minutes for around 30 IBU. After Whirlfloc and yeast nutrient at 10 minutes, we kegged about 4.5 gallons at 1.038 gravity and pitched a pack of Nottingham yeast straight into the wort. Ideally it ferments down to 1.010 or lower for a light, dry bitter around 3.5% ABV. It added a total of 1.5 hours to the brew day; not bad for another 5 gallons of beer.
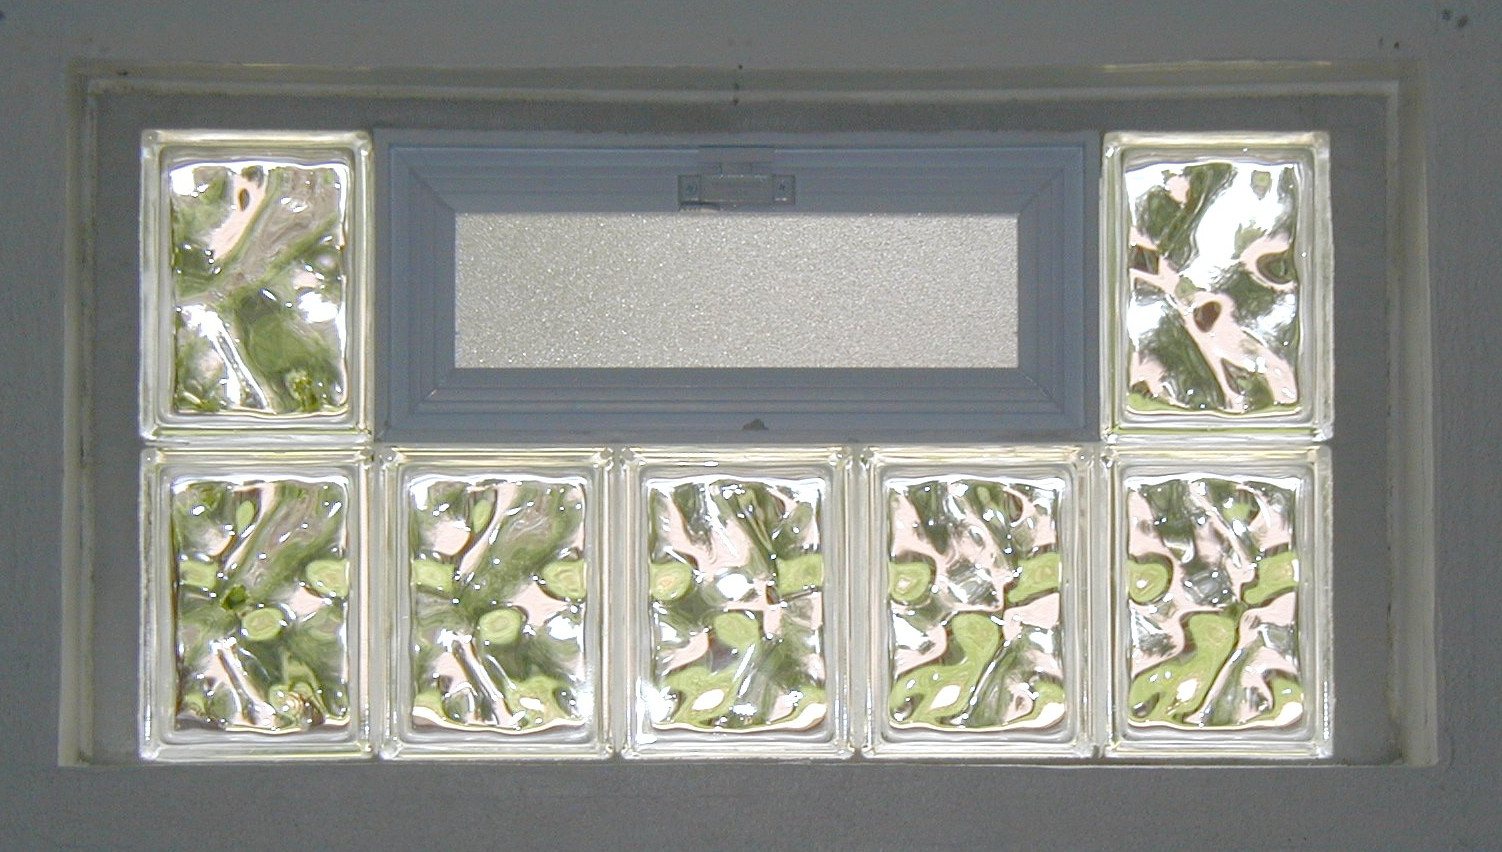
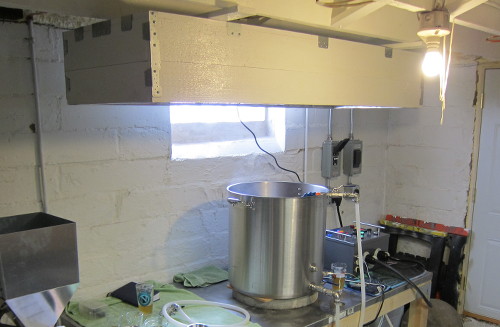
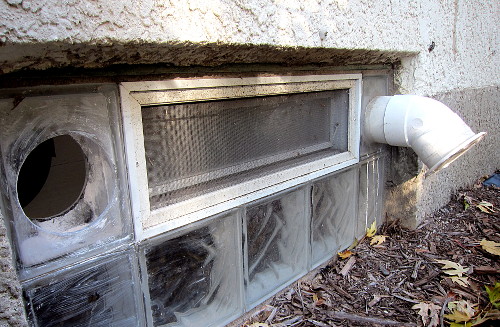
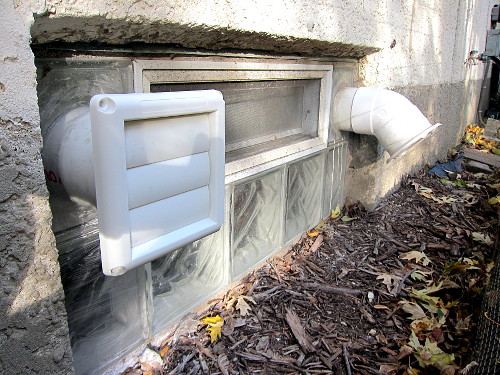
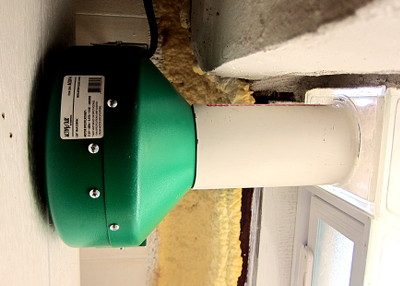
Vent Times Two?
In a previous post we installed a second vent fan; how well did it work for this brew? Not as well as we hoped, but much better than we feared. The vent still doesn’t trap all the steam from the boil kettle during a particularly vigorous boil, but the amount of condensation on the top and sides of the vent is hugely reduced. Next time we’ll try repositioning the pots with the boil kettle in the middle, centered between both fans.
If you hadn’t guessed, your brewery is a never-ending project demanding continuous improvement. That’s how you Brew It Right.