Category Archives: Uncategorized

Muntons Connoisseurs Export Pilsner

What if we took what some would consider mediocre ingredients and tried to make great beer from them?  Let’s see:

The Recipe

Name: Muntons Connoisseurs Export Pilsner
Batch size: 4.75 gallons
Expected OG: 1.050
Expected IBU: ??
Mash: none

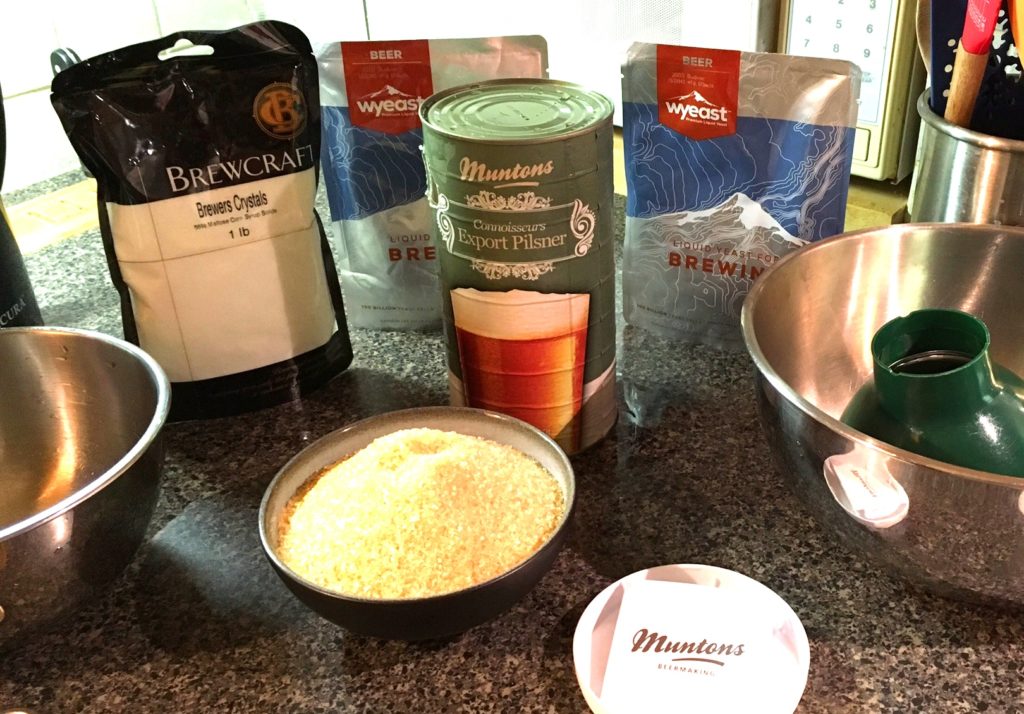
   1 can Muntons Connoisseurs Export Pilsner hopped extract kit
 1.0 lb  Brewers Crystals
 1.0 lb  Turbinado sugar
         Yeast nutrient

2 packs Wyeast 2000 Budvar Lager

Notes

This isn’t a total slum-brew since we’re not just using 2 lbs of table sugar.  Instead, we had some Brewers Crystals lying around which we decided to use.  These look like corn sugar (dextrose) and are in fact made from corn, but mimic the fermentability profile of regular barley wort by containing mostly maltose and some unfermentable sugars.  They boost alcohol without losing body.

We’re also using Turbinado sugar because why not; maybe they’ll add some interesting flavors to an otherwise lower-gravity kit.  It might turn out that the flavor doesn’t quite work in what’s supposed to be a pretty clean beer, but we’re hopeful.

We hit 1.052 original gravity and lazy-chilled to 53°F before pitching 2 packs of Wyeast Budvar Lager.  We did not aerate, though we probably should have.  10 days after pitching we raised the temperature to 63°F for a diacetyl rest and to help the yeast finish the ferment.  11 days after pitching the gravity had dropped to 1.018, and 16 days after pitching it was still dropping at 1.016.  We haven’t checked it again yet but we’d like to end somewhere around 1.013.  Whenever it’s done, we’ll cold-crash for a few days then rack over to a serving keg for the lagering process.

3/26/2017 Update

It finished at 1.014 and tasted like Chardonnay during kegging.  We’re not sure if that’s due to lager yeast not liking Turbinado sugar or what.  It cleaned up in the keg, but it still has a wine-like taste when it gets warm.  But serve it chilled at 35 degrees and it’s kinda like Grain Belt: kinda-not-really hoppy, with a slightly sweet finish. It’s actually not bad for what it is, but we were hoping for a cleaner beer.

Next time: maybe use Pils malt extract or dextrose instead of Brewer’s Crystals and Turbinado.
Imperial Barrel Aged Amber

 The Recipe

Name: Imperial Amber
Batch size: 5 gallons
Expected OG: 1.094 (65% efficiency)
Expected FG: 1.024
Expected IBU: 180
Mash: 90m @ 152°F

13.5 lbs Muntons Maris Otter
 2.3 lbs Briess Victory
 2.0 lbs Weyermann Dark Munich 10L
 2.0 lbs Thomas Fawcett Amber
 1.0 lb  Briess C40L
 1.0 lb  Briess C120L

   2 oz  Warrior    15.0%AA @ 60m
   2 oz  Cascade     6.4%AA @ 10m
         Yeast Nutrient     @ 10m
   2 oz  Cascade     6.4%AA @  5m
         Whirlpool for 15 minutes

2 packs Safale S-05

Notes

We nailed the original gravity at 1.094.  But since it was fermented at ambient temperatures during February it got down to 59°F at night it only finished around 1.035.  Regardless, we barreled it into a freshly dumped 11 Wells 6 gallon whiskey barrel.  To help reduce the gravity further we brewed up a 1 gallon batch with 3.15lbs of Amber LME and 1oz Centennial @ 8.7%AA boiled for 10 minutes and fermented it for 3 days with one pack of S-05.  At peak fermentation we added the small batch to the barrel.  One month later we kegged and got 5.5 gallons of 1.024 wort for a final ABV of 9.5%, not including any whiskey from the barrel wood.

It’s great and it keeps getting better.

Mountmellick Extract Stout

We’ve had a can of Mountmellick Stout kicking around for a while.  We also had small amounts of specialty malts in the grain cellar that needed using up, which are perfect for a mini-mash to go with the can.

Mountmellick is pre-hopped so we didn’t need additional bittering hops, but we had some left-over UK Fuggles to use for aroma.  This should give the beer a bit more hop character above the malt extract’s bitterness.

The Recipe

Name: Mountmellick+
Batch size: 3 gallons
Expected OG: 1.068 (75% efficiency)
Expected FG: 1.017
Expected IBU: ?
Partial Mash: 30m @ 153°F

  4   lbs Mountmellick Stout pre-hopped extract
  1.5 lbs Pale 2-row
  7.0 oz  UK Brown
  4.0 oz  UK Pale Chocolate (200L)
  4.0 oz  Belgian Special B
  4.0 oz  Briess C80L
  3.0 oz  UK Chocolate (425L)
  2.0 oz  Briess C120L
  2.0 oz  Briess C150L

  0.5 oz  UK Fuggle 5.3% AA @ 20m
  0.5 oz  UK Fuggle 5.3% AA @ 5m
  1 pack Mountmellick yeast
1/2 pack Safale S05 dry yeast

The Brew

mashWe crushed the partial mash grains and heated our strike water to 160°F.  Mash-in dropped the temperature to 152°F and we turned the stove on to raise temperature slightly.  Once we got there, we turned off the burner and left the mash alone.  Unfortunately the temperature at the top of the kettle wasn’t the temperature at the bottom,and when everything finally stabilized the entire mash was sitting at 163°F for about an hour.  While unexpected, it won’t ruin the beer, since most of the sugar in the wort came from the Mountmellick can instead of our partial mash.

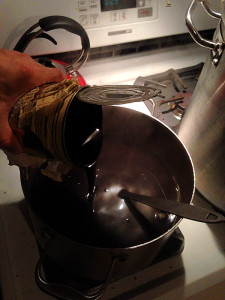
extractWe removed our grain bag, sparged with more filtered water, and added that back to the main kettle.  When the wort began to boil we moved part of it to a smaller pot and added the can of Mountmellick extract to that, mixing well to ensure nothing would scorch on the bottom.  We added the small pot back to the kettle and proceeded with a 30 minute boil, starting at 17.5° Plato (1.072).

The astute among you will notice we’re already over our target gravity of 1.068, and after boiling the gravity would only be higher.  It appears we completely mis-judged our efficiency and got closer to 90% of the potential extract from our the partial mash.

Since we weren’t trying to make an Imperial Stout we topped up with 1 gallon of cold filtered water to result in about 4 gallons of 15° Plato wort (1.061) before adding the yeast and fermenting at 68°F for about 10 days.  When racking to the keg after fermentation was complete, the final gravity was 1.024 for about 4.9% ABV.

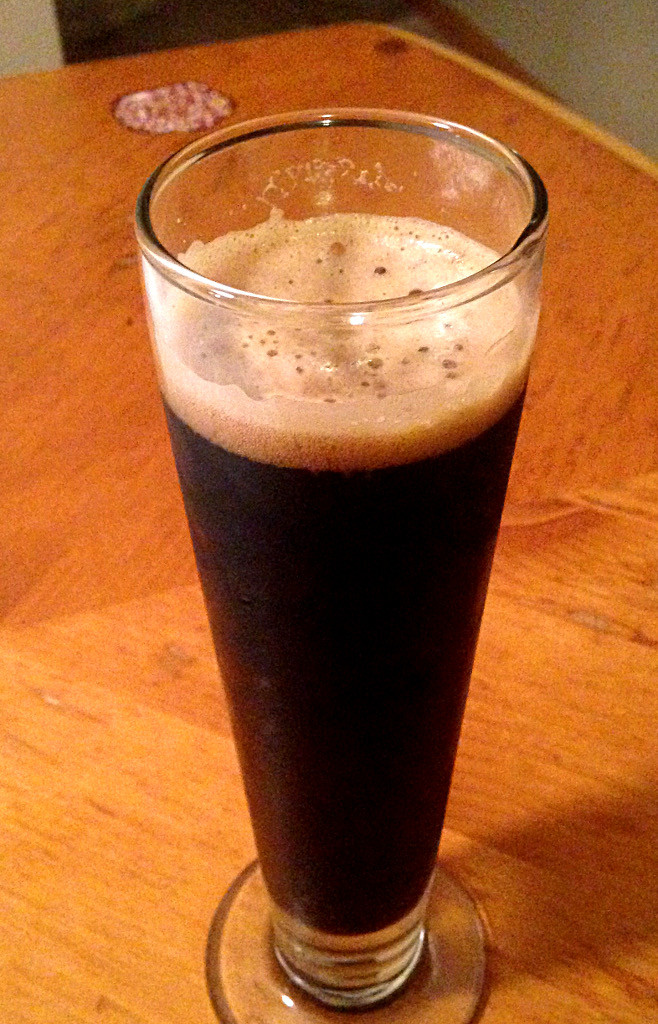
mountmellick-glassThe Beer

The result was a thick, black, roasty stout with significant bitterness and a dense rocky head that stuck around.  Pretty good for an extract beer and a screwed-up partial mash.  The bitterness was higher than we expected, but that’s probably because the pre-hopped malt extract can is meant for a 5 gallon batch and we were using it for 3.

What would we do differently next time, if another can of Mountmellick happened to drop from the sky?  First, we’d move all our hop additions to 5 minutes or less, and use a hopstand to achieve more flavor and aroma.  We’d also more tightly control the partial mash temperature to keep the beer lighter in body.  But we’d also not bother doing a partial mash, since the gravity contribution of the pale malt is likely too high and would have significantly increased the alchohol had it been successful.

Beer in the Czech Republic 2015

This year on our annual trip to Brno in the Czech Republic, we were impressed by the rising beer scene for two reasons.  First, we noticed more new micro-breweries on tap in pubs, and second a lot of the micro brews aren’t Czech pilsners.

For example, Pivovar Lucky Bastard was mere blocks from our hotel, and while we couldn’t get away from meetings to visit the brewery during its small, small bottle sales window (11 – 4 on Tuesday), we did sample their Dubbel at Ochutnávková pivnice.  We also had a stout from Pivovar Kocour Varnsdorf, an American IPA from Pivovar Nomád, a DIPA from Pivovar Slavkovsky, and an English IPA from Beskydsky Pivovárek.  And as always, classic Czech Pilsner of all varieties.

Next year we hope to see even more variety, and even more pubs serving even more kinds of beer.  It can only get better, right?

Ringwood Old Thumper

Continuing the fine tradition of Using Stuff Up, we have another British clone.  Oddly we’re almost all done with the bag Maris Otter we bought in April, which means we’re about 6 months ahead of the last bag we bought.  Keeps things fresh.

This one is another clone from Graham Wheeler’s Brew Your Own British Real Ale (3rd Edition).  We really wanted to do something else from Pattinson’s The Homebrewer’s Guide to Vintage Beer but almost everything in it seems to require invert sugar and we didn’t have 4 free hours to make any.  No fear though, we’ll do that soon.

Wheeler lists Old Thumper at 5.7% ABV, while Ringwood itself gives 5.1% ABV.  Old Thumper might have previously had a higher ABV, or possibly the bottled version has a higher ABV than the cask version which is sometimes the case.  No clue about that, but we’ll take the high end.

The Recipe

Name: Ringwood Old Thumper
Batch size: 5 gallons
Expected OG: 1.056 (75% efficiency)
Expected FG: 1.013
Expected IBU: 39
Mash: 90m @ 151°F

 9.4 lbs Munton's Maris Otter
  10 oz  Briess Torrefied Wheat
   7 oz  Munton's Crystal 60L
   1 oz  UK Chocolate 350L

   1 oz  Challenger    8.7%AA @ 90m
 0.4 oz  Kent Goldings 6.5%AA @ 10m
 0.6 oz  Kent Goldings 6.5%AA @  0m

1 pack Wyeast 1469 West Yorkshire

Our recipe has higher IBU than Wheeler specifies due to the alpha acid of the hops we had.  We’re also using Wyeast 1469 West Yorkshire yeast, a strain we’ve had great luck with in British ales.

The Brew

Not much interesting here.  We hit our pH target (5.35) using carbon filtered city water with no lactic acid required.  Mash-in was a bit cool at 142°F but we fixed that in due time.  The sparge yielded 8 gallons at 10° Plato (1.040) which we boiled vigorously for 105 minutes, to 5 gallons @ 15° Plato (1.060).  Right on target.  Chill, oxygenate, pitch, and done.

Fermentation was very active, even with Fermcap S in the fermenter.  We lost a pint or so to blowoff through the airlock.  Upon kegging two weeks later, it landed at 1.012 for 6.3% ABV.

And it tastes great; there’s a new-ish local fish and chips place, and what better to drink with fine cod/haddock/walleye than a fine real ale?  Cheers!

PSA: Tighten Your MFL Fittings With a Wrench

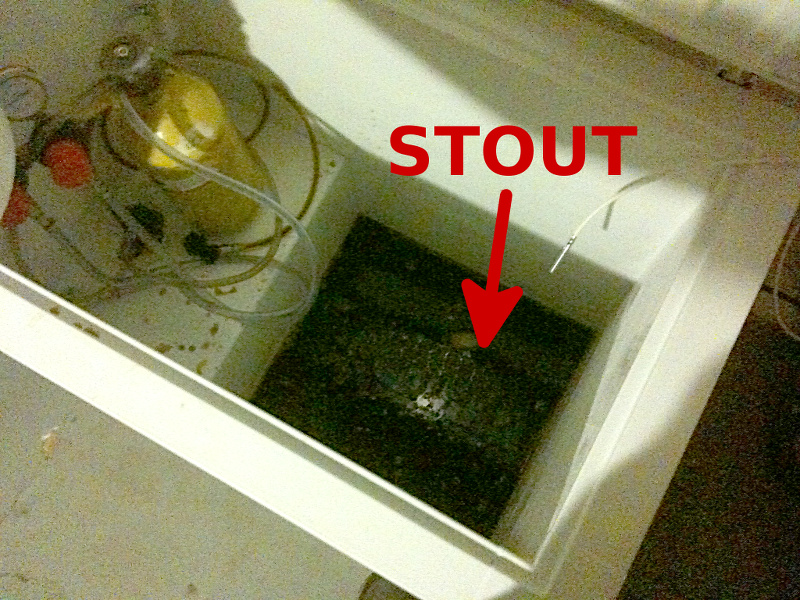
stout-spillIf you don’t, this could be your next beer.  And no, you can’t put it back into the keg and hope for the best, because you have no idea what kind of junk the previous owner of your keezer stored in there.  It just won’t taste right.  How do we know?  Don’t ask.  So when you have a nice full keg of delicious beer, make sure you use a wrench and don’t just finger-tighten the MFL fittings onto your disconnects.

Thankfully we got to drink a few pints of the Use-it-up Stout and it was great.  So great, in fact, that we brewed it again this week and hit most of the numbers spot on.  But it’s likely nothing will ever measure up to our recollection of how great our taste of the first batch was, right before it escaped into the freezer.

You have been warned.

IPA Take Two

We brewed this IPA the first time back in November and we didn’t Brew It Right™.  Time to fix that.

Last Time

November’s grain bill was too sweet and wasn’t balanced by the hops.  When racking to secondary and tasting the hydrometer sample, we said:

Wow, what an awful taste.  First off, too sweet, and the aroma hops (mostly Cluster) just don’t work with the sweetness of the malt.  Maybe it will get better with time, but we certainly know what we won’t do in the future: pair a large amount of Golden Promise with late-addition Cluster.

The beer got better with age, but was never particularly good.  This time, we’re making some changes:

  1. Maris Otter instead Golden Promise – GP is a sweeter malt, but we’d like complexity without the sweetness, thus the MO.  We’re sure GP is appropriate in some beers, just not in this one.
  2. No Cluster – not clean enough of a finishing hop, at least in the large quantities used in IPAs.  While we know of some very popular lighter beers that use late-addition Cluster, it’s just not right for this IPA.  This time we’ll go with more traditional finishing hops.
  3. Add some wheat malt – makes the beer a little lighter and gives better head.  Plus we’ve got some we need to use.

The Brew

ipa2-grains
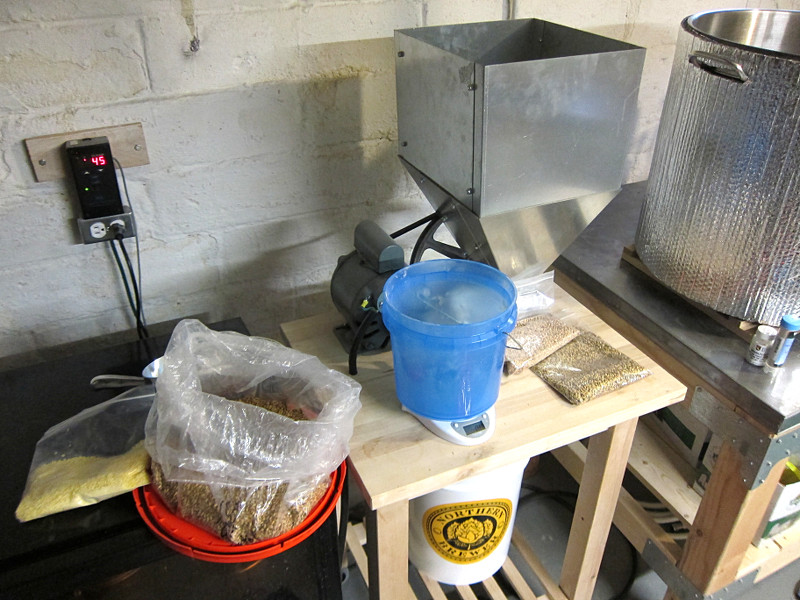
Weighing out the grain
ipa2-mill
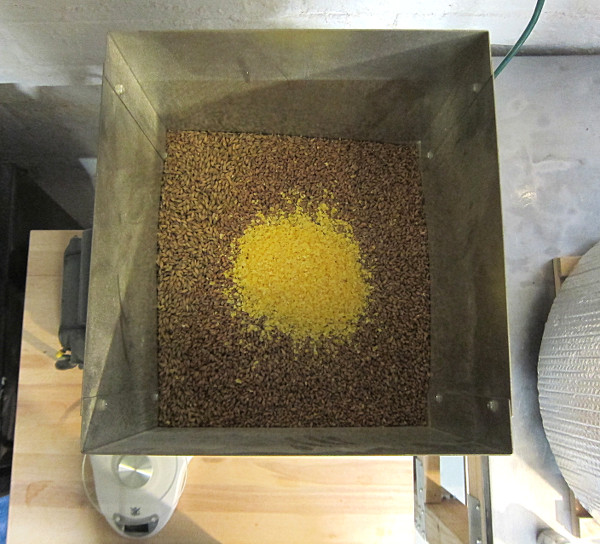
A splash of flaked maize makes a great picture

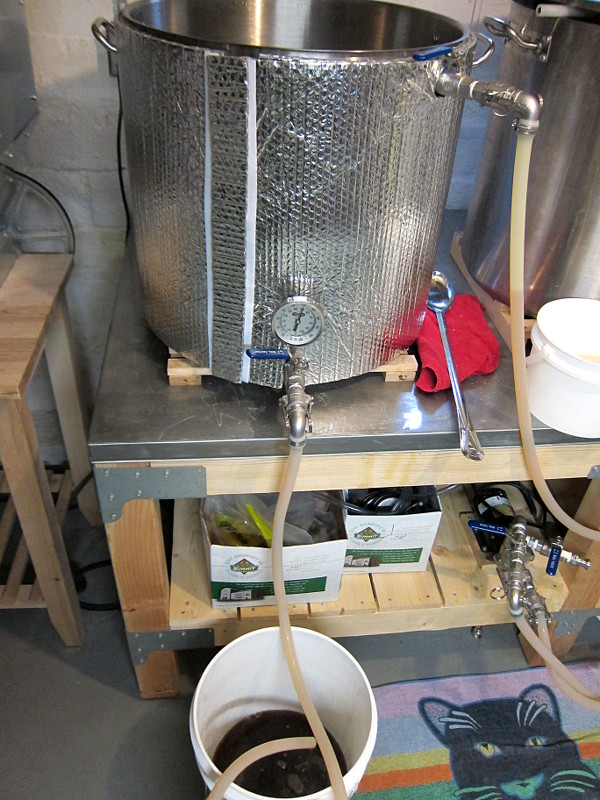
This time we decided to try batch sparging in an attempt to save time during the brew day.  We usually fly-sparge on our system, and that takes anywhere from 60 to 90 minutes, so we were looking to speed things up and make the brew day a bit shorter.

Batch sparge
Sparging the first batch

In a typical batch sparge, you drain the entire mash tun for the first batch.  Then you add more hot water, let it sit for about 15 or 20 minutes, and drain again for the second batch.  The combination of first and second batches makes your final boil volume.

Our first batch clocked in at 5.25 gallons and 13.75 Plato.  The second batch was 3.25 gallons at 6.5 Plato.  With these batches combined, we began the boil with 8.5 gallons at 11 Plato (1.042 SG).  This was right on the target of a final 5.5 gallons at 1.066 SG, but since our boil-off rate is about 2 gallons per hour, we needed to boil off a gallon of wort.

30 minutes later we added the first bittering hops and an hour after that, our boil was done.  5 gallons went into the fermenter at 1.066 SG, yielding about 70% efficiency.

Did Batch Sparging save time?

No, it did not.  Two things prevented batch sparging from saving time over fly-sparging:

  1. more wort, lower gravity: fly sparging seems to result in a more concentrated wort, which means we can start the boil right away.  Batch sparging seems to yield more wort at a lower gravity, which means we have to spend 30 – 40 minutes boiling off water before we can start adding hops.
  2. rest between batches: batch sparging guides usually say to wait between batches and let the water leach more sugars out of the grain.  That takes an additional 20 minutes.

So besides the time spent draining the mash tun (15 minutes) you add another hour for resting and boil-off, and batch sparging doesn’t save us any time.  But it was a bit easier, and we didn’t have to monitor the gravity near the end of the sparge to avoid tannin extraction.

Into the Secondary

We’re somewhat slow writing up each brew, so this IPA is already being dry-hopped in secondary.  You see, we’ve got a friendly competition coming up where this IPA will be pitted against 15 commercial hoppy beers, so we’re under the gun.  Final gravity into secondary was 1.016 SG for an ABV of 6.5%, which was right on target.  We’d planned to dry-hop with Willamette and Ahtanum, but after trying valiantly to drink an Ahtanum dry-hopped Kolsch at a local brewery, we sprinted away from this combination.  Luckily our freezer had a half-ounce each of Simcoe and Amarillo, both excellent IPA dry-hops.

When it’s done, we’ll do a proper tasting and give you all the details.

New Orleans Beer Time

If you’re in a town for a conference, you might as well find some good beer.

Crescent City Brew House

With a name that mentions nothing about it’s attempt to recreate a little bit of Bavaria in delta country, the Crescent City Brew House seems to be the only brewpub downtown.  Nice atmosphere, not trendy, not fancy.  The staff was friendly and helpful.  The food was OK, but this being NOLA it was quite meat heavy.

Beware they only do lager, the founder is apparently German and brews according to the Reinheitsgebot, so if you like hops look elsewhere.  And unfortunately for beer geeks, they haven’t jumped on the specs bandwagon, so no malt, hops, IBUs, gravity, or explanations for anything.  A bit old-fashioned, you could say.

  • Pilsner – billed as a “light, crisp, and traditionally hoppy beer, with a soft palette and floral bouquet”.  It met expectations.
  • Red Stallion – “A malty, aromatic and hoppy mixture. Copper colored, this beer is medium bodied and full of flavor. Vienna Style.”  I would have liked more malt, but this one was solid too.
  • Black Forest – “A full-bodied dark mahogany beer, with a rich malty texture. It is sparsely hopped, in the traditional Munich style.”  Also solid.

They also only serve 12, 20, and 24oz glasses.  No pint glasses here you English-loving tool!  All the beer was “solid” for German lager with no particular standouts

Final score: one thumb up from Brew It Right.

New Orleans Lager & Ale (NOLA)

One microbrew (besides Abita) that everyone seems to have on tap is NOLA Blonde.  This was the bright spot wherever I happened to be, because it’s a good, solid blonde ale.  You should try it.  It’s like Summit EPA: no matter what bar you’re in, they’re going to have it because it’s “local”, and that means you don’t have to drink Miller Lite like a chump.

Next up: Hopitoulas.  A great IPA, which you should try, but I can’t give you tasting notes or bouquets or backbones or resins or any of that stuff, as I was fairly drunk by then and I’m not going to take notes when I’m having fun.

Final score: two thumbs up from Brew It Right.

Fill a Growler From Your Keg

Have you ever wanted to fill a growler from your keg without the beer tasting like cardboard the next day?  Have you never, ever run across BierMuncher’s post on the topic?  Well today’s your lucky day!  Hold on, because it’s really complicated…

The Parts
1 x 5/16" siphon tube
1 x #6 Drilled Stopper
1 x Party tap kit (unless you've already got one)
The Tools
Coping saw (or other fine-toothed saw)
Fine grit sandpaper
The Procedure
Cut thee carefully...
Cut thee carefully…

Cut the large black seal off the bottom of the tube.  Then cut the hook off the top of the top, but make the cut diagonal.  Use the sandpaper to smooth all the burrs off both ends, both inside and out.

Then work the drilled stopped up the siphon tube, with the small/bottom side of the stopper closer to the diagonally cut end of the tube.  Check it against your growlers so that the tube touches the bottom of the growler and the stopper seals well in the growler’s mouth.  For a normal-size growler, the bottom of the stopper will be a bit over 9 3/4″ from the pointy end of the tube.  You’re done!

The Pour

filler-finished

You’ll need a party tap (or “cobra” tap) since this doesn’t work with Perlicks and the like.  Once you’ve hooked the party tap up to your keg, slip the flat end of the filler tube into the outlet of the party tap. It’ll be snug, but that’s good.  Twist it in if you have to, but it shouldn’t take too much force.  You also don’t want to shove it in too far, otherwise you’ll block the tap’s gasket mechanism. No worries, you’ll get it.

Now purge your growler with CO2.  It also helps if the growler is cold, but it doesn’t really matter.  Insert the tube into the growler, making sure the stopper forms a good seal.  Pull the tap trigger and watch the beer flow!  It’ll foam a bit at first but you shouldn’t get too much.  The flow will stop as the pressure builds up inside the growler, so now just squeeze the stopper a bit to let some CO2 out and keep filling until the foam hits the neck of the growler.

Mmmm fresh beer.  Enjoy!