We last brewed an extract beer on December 5th, 2012, an English Bitter with left-over malt syrup and some year-old Munton’s yeast. Since then we’ve brewed 45 all-grain batches on both our large and small electric breweries, some using up to 52lbs of grain, a hopback, fresh hops, first-wort hopping, whirlpooling, continuous hop additions, a pH meter and refractometer, sacks of imported base malts, and (almost) all the other brewing bling money can buy.
 Why not go simple again and just brew a straight-up extract beer? Using nothing but what a beginning brewer would use? Of course!
The Recipe
Name: American Amber (Extract)
Batch size: 5 gallons
Expected OG: 1.052
Expected FG: 1.012
Expected IBU: 30

6.0 lbs Amber malt syrup (1/2 late addition)
1.0 lb  Briess Golden Light dry malt extract (late addition)
1.0 lb  Briess C10L (steeping)
0.5 lb  Thomas Fawcett Amber (steeping)

2.0 oz Cascade (leaf) 3.2% AA @ 60m
1.0 oz Cascade (leaf) 3.2% AA @ 10m
       Whirlfloc              @ 10m
1.0 oz Cascade (leaf) 3.2% AA @  5m

1 pack Safale S-05 dry yeast
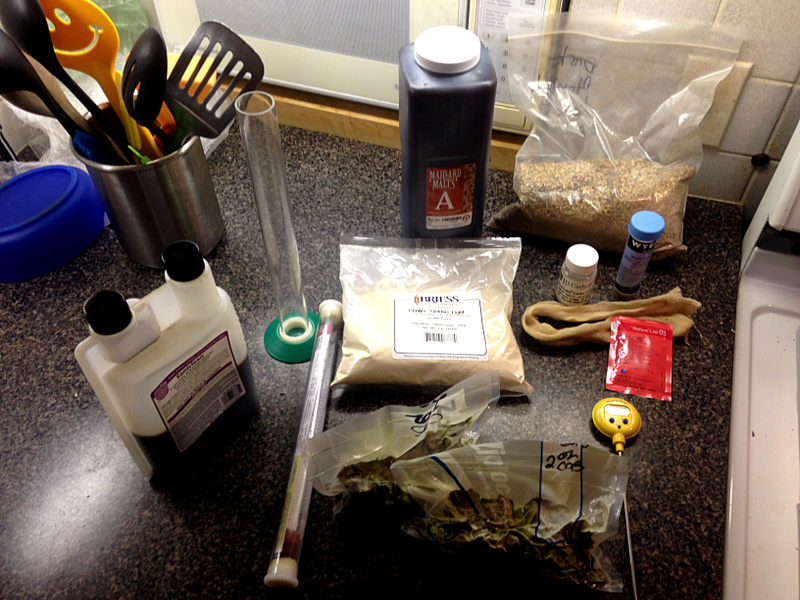
This is closely based off Northern Brewer’s American Amber recipe with substitutions for stuff we had on hand. Instead of using two 3.15lb jugs of Amber malt extract ($10 each) we bought one 6lb jug ($18) and used a bag of DME we already had. For steeping grains we used some Crystal 10L we had on hand instead of the 20L from the NB recipe, and we added a bit of Thomas Fawcett amber malt because there’s a bunch lying around and we haven’t used it in a while.
Next, we used some Cascade leaf hops that we bought for $1/oz a few weeks back from a guy who was selling them out of a cooler. He didn’t know the exact alpha acid but said it was “in the low 3s” so we guessed 3.2% and called it a day.
We stuck to using only tools that extract brewers would typically have on-hand, which means no pH meter, no refractometer, no counter-flow chiller, no brewing salts, no yeast nutrient, no oxygenation, and no fermentation temperature control.
The Brew
 The first step in a normal extract brewing process is to heat as much water as your stove can handle to about 150°F for steeping grains. If your stove can do a full boil (~6.5 gallons) then great! We haven’t yet found one that can, so we chose to do a partial boil of about 3 gallons. Once it’s at steeping temperature, put your milled grain into a grain bag and drop it in, letting it steep for about half an hour.
 Then pull the grain bag out, toss it into a colander, and press to get as much worty liquid out of it as you can. Add that back to the kettle and heat it all up to a boil. Once it’s boiling, add half of the malt extract, and then rest near the end just to sanitize it. This is done because as the extract boils it darkens, so adding the rest of the extract at the end keeps the beer within the desired color range. Late extract addition is more important for lighter colored beers like pilsners, lagers, and pale ales, but since we’re just following the recipe we’ll do it too.
Whenever adding extract, always turn off the heat and add it slowly, stirring constantly to avoid scorching the extract. Since liquid extract is heavier than water, it will sink down to the bottom where all the heat is, caramelize, and possibly burn, making awful beer.
 Now that the wort is boiling, add your hops according to the schedule. If you’re using pellet hops you’ll definitely want a hop sock, but since we were using leaf hops we just threw them in and fished them out later with a strainer.
Once the boil is done the hot wort must be chilled down to yeast pitching temperature below 80°F and lower if you can. So grab your immersion chiller (if you have one) and hook it up to your laundry sink or garden hose and chill away. If you stir with a sanitized spoon it’ll chill faster and you won’t waste so much water. If you’re doing a partial boil, one trick is to chill down to 80°F and then top up to 5 gallons with cold water, which should bring the temperature down below 70°F. Then pitch your yeast.
After pitching make sure that the beer has cooled further down to 65°F within 8 or 12 hours by sticking it in a cool place like a basement or closet, or putting the carboy into an actively cooled fermentation chamber if you have one. Letting the temperature stay too high can produce off-flavors, and fermentation actually raises the temperature a few degrees. Keep it below 70°F; 66°F is even better. Of course, this all depends on your specific yeast too.
We didn’t bother measuring the original gravity, since malt extracts have a well-known gravity potential and we were lazy. The Amber malt syrup has a potential of 1.036 Points-Per-Gallon (per pound) and the dry extract has a potential of 1.043 PPG. This adds up to (6lbs x 36) + (1lb x 43) = 259 total gravity points. Divide that by 5 gallons and we get an Original Gravity of 1.052. The steeping grains don’t contribute enough gravity points to count.
The Fermentation

We cheated a bit and fermented in a keg, which most extract brewers probably don’t do. Our keg was filled close to the top, and since we were only using what a beginning extract brewer would use, we opted to skip Fermcap S for fermentation foam control. This meant that we got some great blow-off after 2 days as yeast and krausen filled the air lock. But that’s a good sign.
Comments and Questions