Monthly Archives: October 2013

Fuller’s London Porter and Cider Updates

Refractometer Crash Course

We’ve got two fermenters to check.  But we don’t want to pull a whole hydrometer sample for either of them.  What to do?  Use a refractometer!
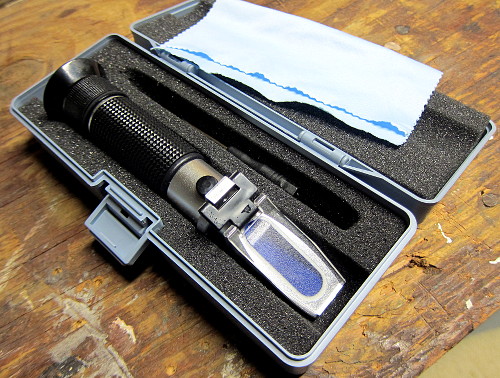
New Toy!!!
Brew It Right’s latest new toy!

Since a refractometer takes a few drops of sample at a time, it’s trivially easy to measure fermentation progress.  But remember, they are calibrated for water not alcohol, so after fermentation starts you need a calculator to get the correct gravity.  Also, refractometers typically measure in Brix, a scale normally used for wine.  So until you’re comfortable with readings in Brix (or the practically equivalent Plato scale), you’ll want to convert between Brix and Specific Gravity using a different calculator.  Yay Internet!  So many useful calculators!

A refractometer works by measuring how light changes when is passes through a liquid.  Plain water bends light differently than does a solution full of sugar or a solution of sugar and alcohol.  By looking at how much that light bends, you can measure how much sugar is in solution.  Distilled water should always show a Brix/Plato value of 0 (1.000 SG), while unfermented wort typically starts anywhere from 10 (1.040 SG) to 20 (1.083 SG) depending on the beer.

Since the sample is so small, a refractometer is also extremely useful while fly sparging, to ensure gravity doesn’t fall below the magic 1.010 where tannin extraction might occur.  The two or three drops required for the refractometer cool within seconds, as opposed to 5 or 10 minutes for a full hydrometer sample in an un-agitated water bath.

So, fill a bowl with water, add your favorite sanitizer (StarSan or Saniclean), and sterilize your pipette.  Be sure to suck some sanitizer into the pipette and squeeze it out too, instead of just sanitizing the outside.  Next, open your fermenter and suck up a few samples and squeeze them into a glass.  Do this until you have enough for a taste.  Then, use the pipette to cover the prism of the refractometer with beer,and flip the sample plate down.  Hold the refractometer up to the light, look through it, and note where the color change occurs on the scale.  That’s your reading in Brix.

Teh Porter

It’s been two weeks since the porter was brewed, so how’s it doing?  Well, airlock bubbles have slowed to about 30 seconds-per-bubble, but as everyone knows that’s not a reliable indicator of anything.  But gravity is!  So using our trusty refractometer [ed – how trusty can it be already if it’s so new?] we pipette out a sample and measure it: 9 Brix, about 1.019 SG.

Huh, that seems pretty high, since we were expecting around 1.014.  There could be a few things going on here; first, the yeast (Wyeast 1968 London ESB) only attenuates 67 – 71%.  Second, we may have overshot the mash temperatures a bit, resulting in a less-fermentable wort.  Third, the grain bill may simply be less fermentable, and indeed, reviews of the brown malt I purchased from Northern Brewer indicate this: “Be warned, however, that this malt produces a poorly attenuating wort unless you use it in moderation and mash at a slightly low temperature.”  Oh well, the sample still tastes great!

Tomorrow I’ll try to rouse the yeast with a large sanitized spoon, but we may be near the end on this one.  Last resort: pitch some WLP007 Dry English Ale yeast and hope the alcohol shock doesn’t kill them all.

Teh Cider

In the other corner, the cider is still chugging away.  It’s been fermenting for a month, which is pretty common for a cider.  Last week I measured 7 Brix (1.014) and this week it’s at 6 Brix (1.006), with bubbles still about 8 seconds apart.  The sample has a ton of apple character, but is somewhat thin due to the lack of residual sugar.  It seems my strategy of using a low-attenuating/low-alcohol tolerant yeast (WLP002) to retain some sugar just isn’t going to work…

So we’ll sit on this one for a while, at least until the gravity sample stays unchanged for a few days and the airlock activity is slower.  Then we bottle!
British Series: Fuller’s London Porter

fpsparge2

Double IPA blah blah Belgian blah blah.  Nobody seems to care much about Porters these days, but they have a long and storied history starting in the working-class neighborhoods of London.  And Autumn is a perfect time to brew one.

I was intrigued by the use of brown malt in Fuller’s London Porter, as it used to be the only malt you could get (until the Industrial Revolution foisted “smokeless” fuels upon the world) and thus adds historic character to the recipe.  Since I can’t recall any craft beer I’ve tasted that uses it, I’ll have to fall on that sword and try it out.

But there’s a problem.  Wheeler has one recipe, while Brew Your Own has a different one, and the Interwebs have many others.  Which one is right?  Wheeler’s recipe (converted from 19L) clocked in at 19 SRM and low on alcohol, but it does use a 90 minute boil like most British recipes.  BYO, on the other hand, used a 60 minute boil, but all of the stats checked out, and the recipe was reviewed by Fuller’s themselves.  Thus BYO it was.

For yeast, sources recommend Wyeast 1968 London ESB or White Labs WLP002, both of which are reputed to be Fuller’s yeast.  This strain doesn’t have very high alchohol tolerance, and doesn’t attenuate very well, leading calculators to indicate my FG would be high around 1.018 or 1.019.  I’m hoping it decides to outperform.

The Recipe

Expected OG: 1.054
Expected FG: 1.014
Mash: 90m @ 153F at 1.3 qt/lb

8.3 lbs Muntons Maris Otter
1.0 lb Muntons Light Crystal 60L
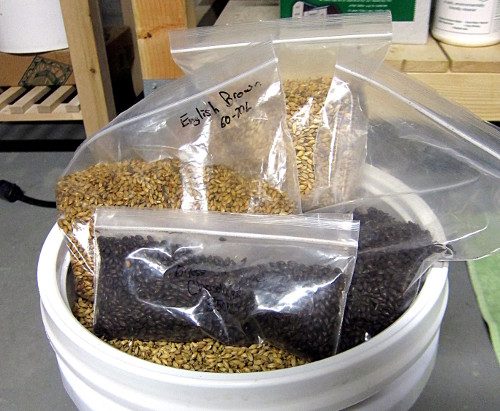
1.5 lbs UK Brown Malt
0.75 lbs American Chocolate

1.25 oz Fuggles @ 60m
0.75 oz Fuggles @ 10m
Whirlfloc @ 10m

Wyeast 1968 London ESB

The Brew

Due to bad planning I didn’t have enough Chocolate malt, so I had to substitute 4 oz of roast barley.  I also added 1oz black malt for a slightly darker color as the BYO recipe also didn’t come out quite as dark as I wanted.  Neither of these changes will have much effect on the flavor, thankfully.

fpgrains
Grains money shot…
Damn that hopper is big...
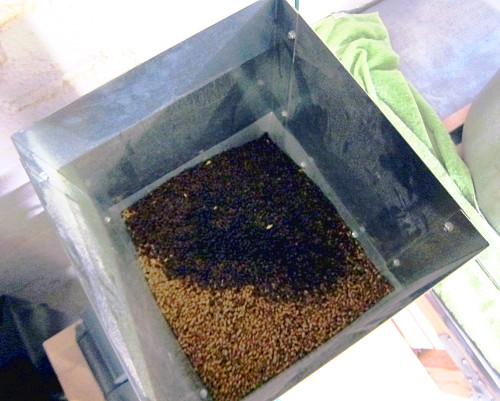
Only 11 lbs of grain.  Damn that hopper is big…

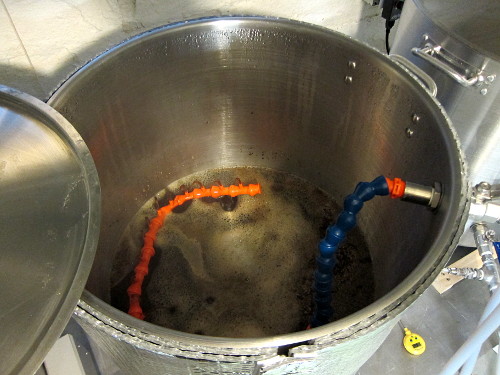
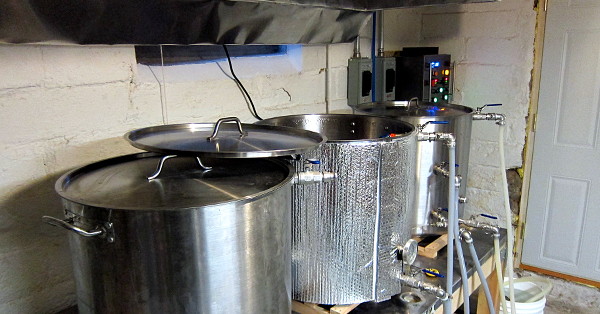
Mash-in is somewhat complicated because I try to keep the HERMS coil underwater in the HLT to ensure mash temperature is as stable as possible.  So after reaching strike temps in the HLT, I run the strike water to the MLT and set up recirculation through the HERMS coil to ensure the strike water remains at strike temperature.  Once that’s done, I shut off the mash pump, dough in, and let the mash rest while I refill the HLT with cold water until it has dropped to mash temp, which takes a few minutes.  Then I start up the mash pump again and off we go.

Starting at 164F and adding the grain set the mash temp right on target: 153F.  The large proportion of dark grains dropped the mash pH to 5.4, which I adjusted down to 5.3-ish using lactic acid.  Most brews with lighter grain bills start around pH 5.8 with my city water, so this was a pleasant surprise.

Mash time!
Mash time!

First runnings were 1.052, and the sparge ran long at almost 1 1/2 hours to collect about 7 gallons with a boil gravity of 1.044.  That gravity seemed a little low for a 60 minute boil, so I ended up doing a 90 minute boil to reduce volume and bump up the gravity.  I stuck with the hop schedule though, adding the hops with 60 and 10 minutes left in the boil.  Ending gravity was 1.062 into the fermenter.

Which means some number is wrong.  I’m very confident that the 1.062 is right, meaning that the boil gravity reading is somehow incorrect.  There are two possibilities here.  First, perhaps I didn’t stir the boil kettle enough before drawing off a sample;  wort does stratify in the boil kettle since the first runnings are higher gravity than later ones.  Second, since hydrometers don’t work well over 80F I have to cool wort samples down, and I do that in a bucket of water.  I may have let some of that water get into the sample, diluting the gravity.  Solving this second problem requires buying a refractometer, which uses small samples that cool very quickly.  Solving the first problem requires not being lazy.

Regardless, the airlock is happily bubbling away at 66F, and in two weeks we’ll know how awesome it tastes.  Cheers!

Tis the Season for Organic Hard Cider

Hey, it’s Fall, and how better to ring in the new season (short as it is) than make some hard cider?

So Saturday found me using one of these to help press 8 or 9 bushels of organic apples into delicious, juicy cider.  We had a great operation going with two people washing and cleaning the apples, and two working the cider press.  Lo and behold, sure enough, out came 20 gallons of liquid gold.  For my toils I took home 5 gallons, which I promptly pasteurized at 170F for 30 minutes, cooled, and pitched.

While I’ve brewed a bunch of beer in my time, cider is all new to me.  Research indicates that I want to reduce spoilage potential by charging up my initial 1.046 OG.  So I added 10oz of corn sugar and 1/2 cup organic dark brown sugar, for a final OG of 1.056.

Next, since the sugars in cider are much simpler than wort, we expect the cider to ferment out completely, yielding a very dry end product.  There are ways to stop yeast activity (chemical bombing, cold-crashing, bottle pasteurization) but they all seem either not-organic, require fridge space, or involve shards of glass.  So my hail-Mary pass is to use WLP002 yeast, which is known to (a) attenuate badly and (b) dislike alcohol.  Hopefully it’ll drop early and leave some residual sugar around so I don’t end up with apple-flavored rocket fuel.

It’s now at 68F in my fermentation chamber, where it’ll stay for a couple weeks, then get bottled with some priming sugar and sit around for another few weeks.  Then bottoms up!